As I
mentioned last week, I finally got around to preparing a few pots of media. A couple days ago a package arrived in the mail from
Drosera Gemmae.
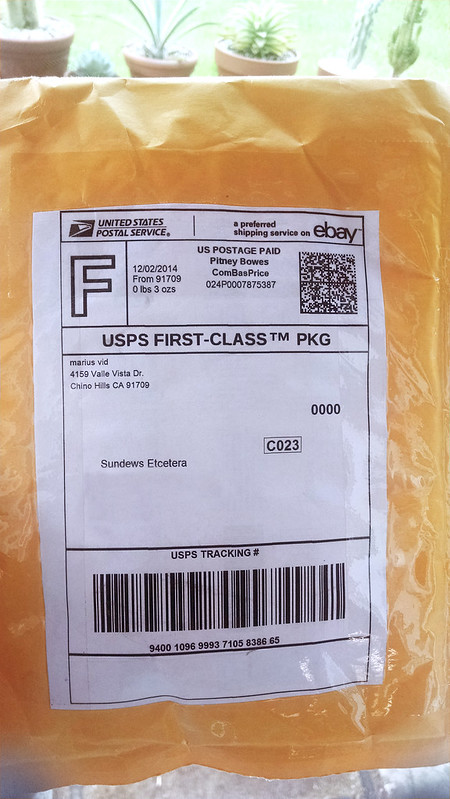 |
| Getting packages from vendors and other growers is always exciting. |
It's my big order for the season – I bought 12 new species/hybrids, and the friendly vendors tossed in 2 extra species.
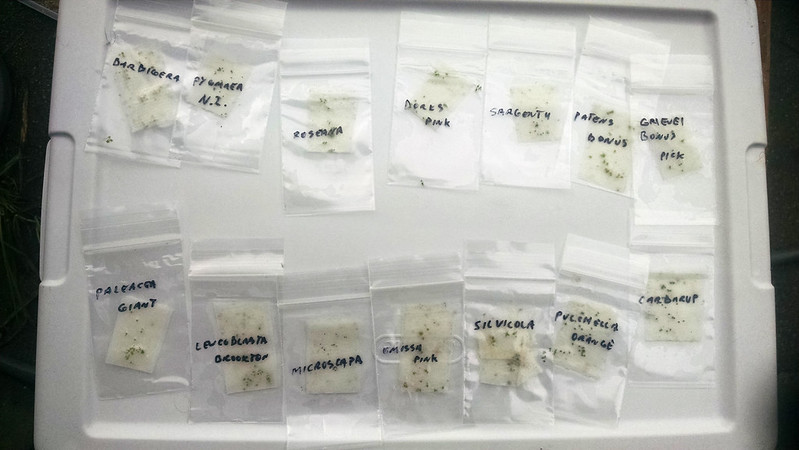 |
| This is really quite a lot of gemmae. |
It's the perfect time to start growing pygmies if you don't have any in your collection (in the northern hemisphere at least). There are loads for sale at Drosera Gemmae, growers everywhere are looking to trade them away, and there was just a writeup on pygmy sundew cultivation in the latest
Carnivorous Plant Newsletter. One great thing about pygmies is that besides being easy to grow they don't take up too much space. That said, I am (once again) running out of room under my lights. I need to start trading away/selling some of my extras plants.
I didn't have much time to pot up these gemmae – we've got a real doozy of a storm rolling into the Bay Area and I wouldn't be able to work in the backyard again until Saturday. I started off by scraping off the top layer of media from my pots.
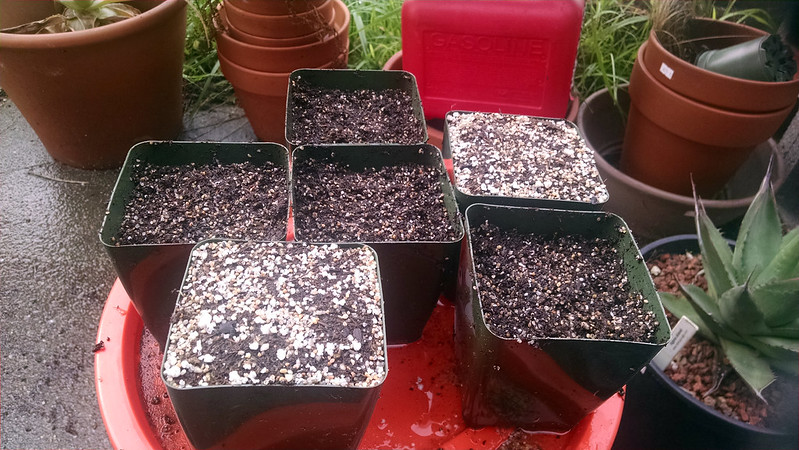 |
| I have extra media to use for a couple pings now. |
And replacing it with a layer of washed large-grain sand, as is my wont.
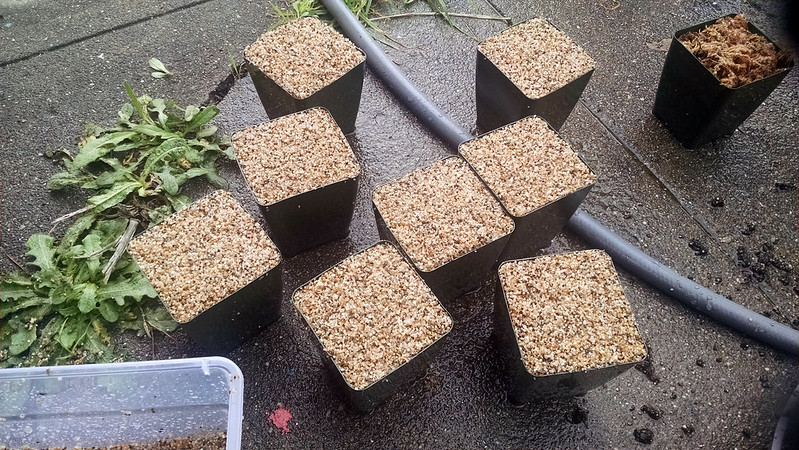 |
| The sand is just so tidy. |
I once again considered sowing some gemmae straight onto the peat, but the neatness of a sand-dressed pot of pygmies was too much to resist.
Working with this many gemmae was frankly exhausting. I used the tip of a plant label to gently place them on the media in an attractive way. I also had to set up different patches for my pygmy garden, and record the location on a reference sheet.
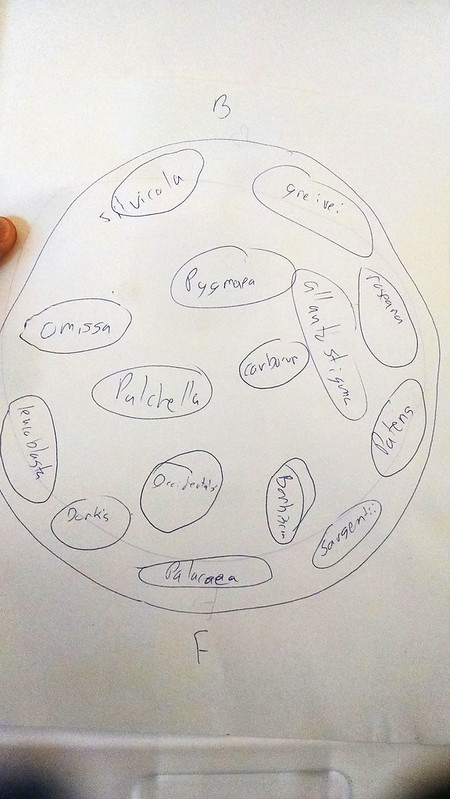 |
| This is uh, a rough sketch. |
This way I'll be able to know positively what is where. The whole process, from preparing the pots to placing all the gemmae, took about 2 hours. Some of the gemmae had already sprouted, and a few had rooted into the damp paper towel they were shipped in. I also harvested some from one of my
Drosera allantostigma, so the garden will contain 13 species and 2 hybrids.
After I sowed all the gemmae I wetted the pots down using the mister on my hose to stick everything in place. I had to move things around in my collection (again) to accommodate all the new pots, but in the end I managed to squeeze it all in there.
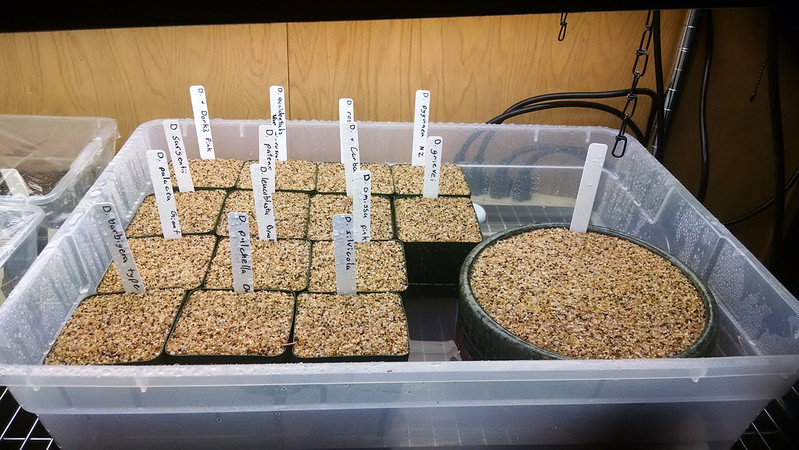 |
| Once they're all hardened off there will be room for like 4 more pots in there at least. |
And then put on a bit of plastic to keep up the humidity and Robert's your mother's brother.
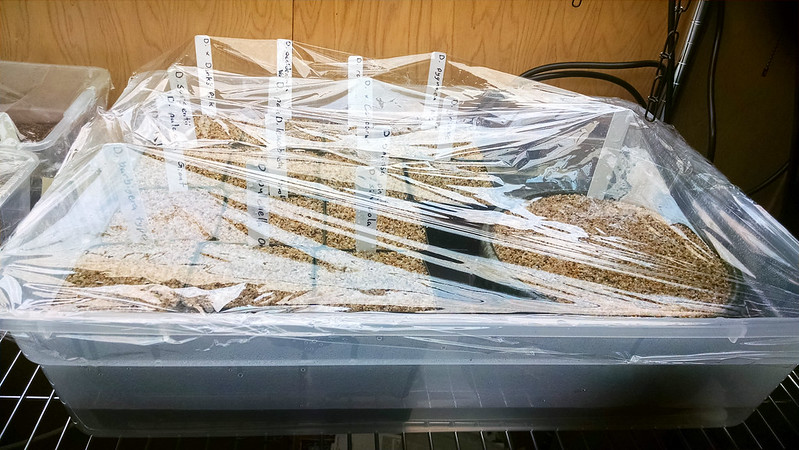 |
| Alright guys lets get growing. |
The great thing about gemmae is they do their thing pretty quickly. I'm hoping to see some real growth within a month. I'll be misting the top of the pots with a spray bottle a couple times a day to keep them hydrated until their roots work their way into the peat through the sand. I'm so excited – pygmies are some of my favorite
For the record, these are the species/hybrid I acquired this time around:
- Drosera barbigera, type form
- Drosera x Carbarup
- Drosera x Dork's Pink
- Drosera grievei
- Drosera leucoblasta (Brookton)
- Drosera occidentalis var. microscapa
- Drosera omissa, pink flower
- Drosera paleacea, giant form
- Drosera patens
- Drosera pulchella, orange flower
- Drosera pygmaea (New Zealand)
- Drosera roseana
- Drosera sargentii
- Drosera silvicola


Looks nice, Devon! How thick is the top sand layer?
ReplyDeleteI have my first gemmae coming in the mail, so I'll be watching your posts closely!
Awesome, hope you have good success with them.
DeleteThe layer of sand is about a centimeter thick. It's not strictly necessary, but I've had success with it in the past.