I've complained in the past about the state of my outdoor growing setup. It's been pretty uh, primitive for a while.
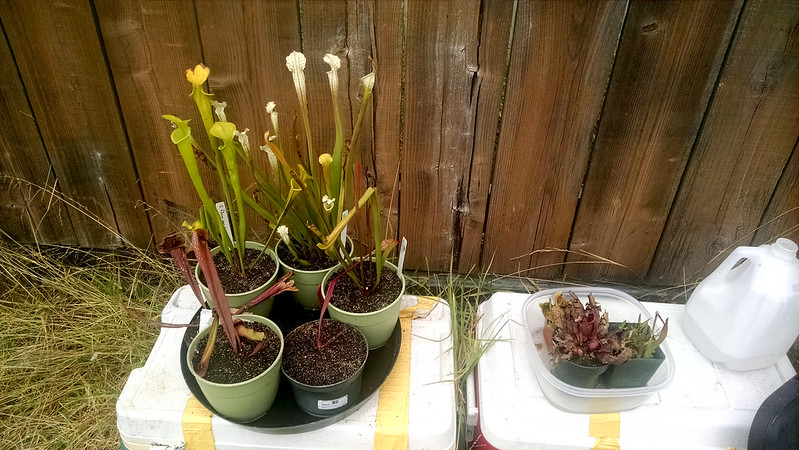 |
| This was definitely a "path of least resistance" setup. |
Well, I recently did a trade with a fellow who was downsizing his collection and I wound up with 7 more
Sarracenia, so it was time to upgrade. Luckily my roommate TJ is a great project buddy, and he's always down to help out with the plants. Here's the teaser from a couple posts ago:
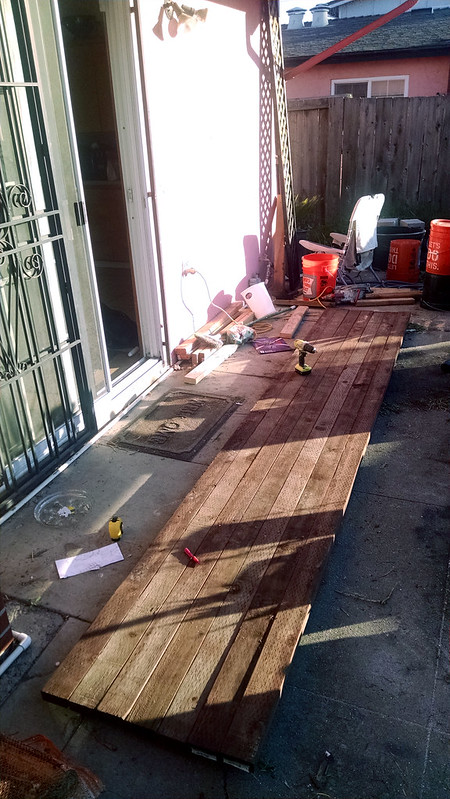 |
| Joining the 2x4s to make a platform. |
And the progression:
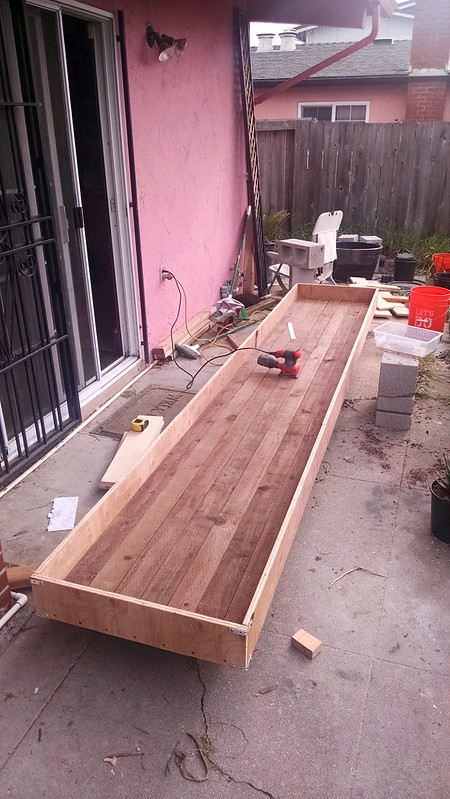 |
| Putting up the outer walls. |
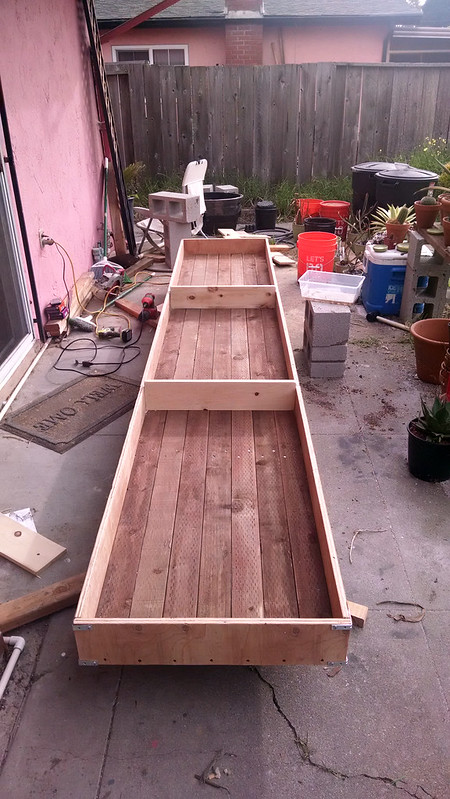 |
| Inner walls to make 3 sections. |
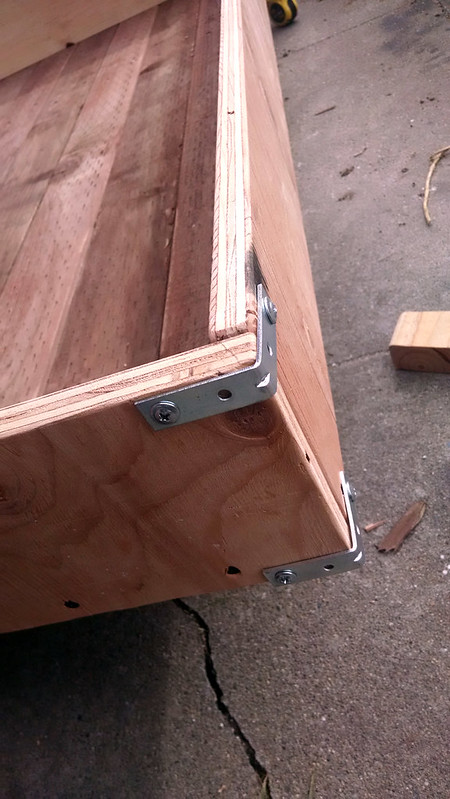 |
| Strengthening the corners. |
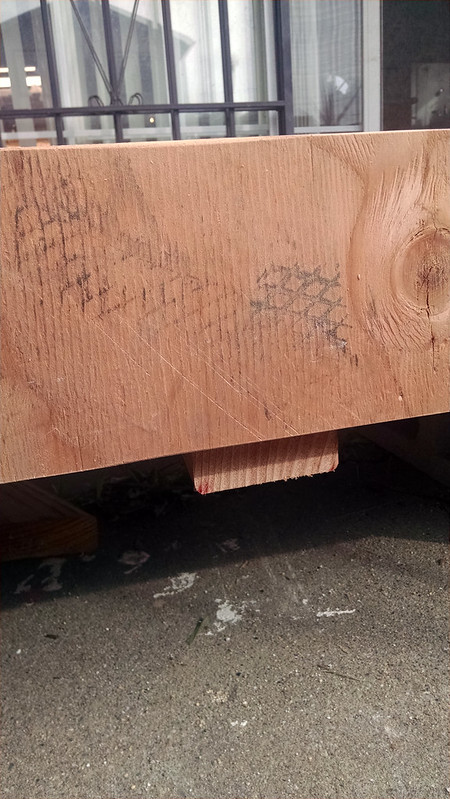 |
| One of the 2x4s used to join the platform together. |
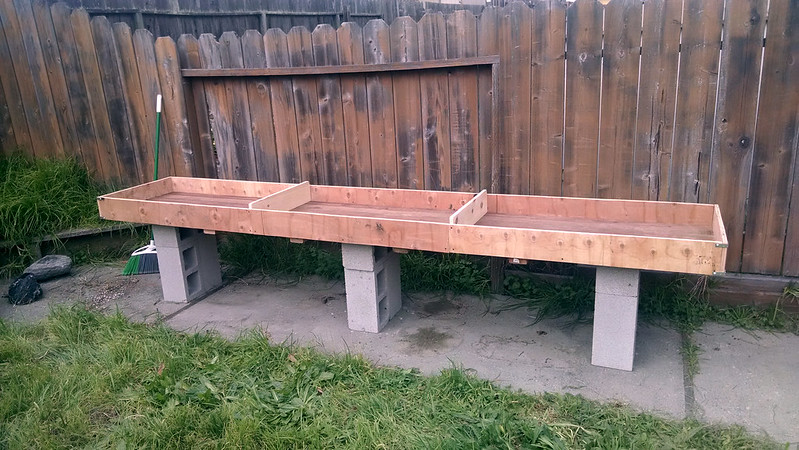 |
| Up on the cinder blocks. |
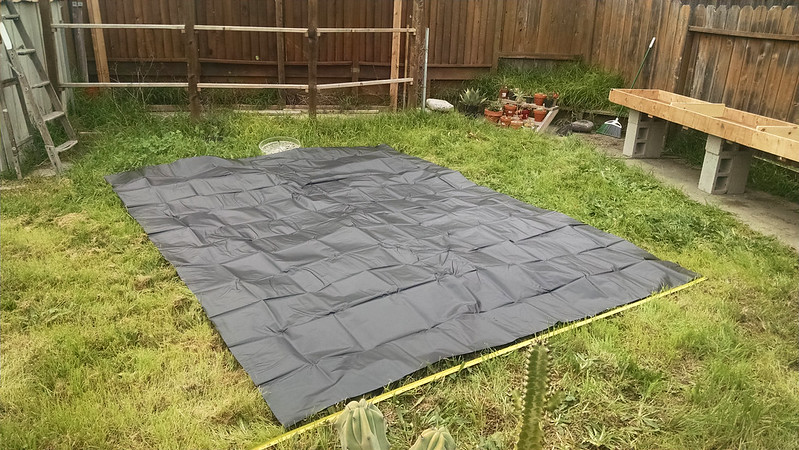 |
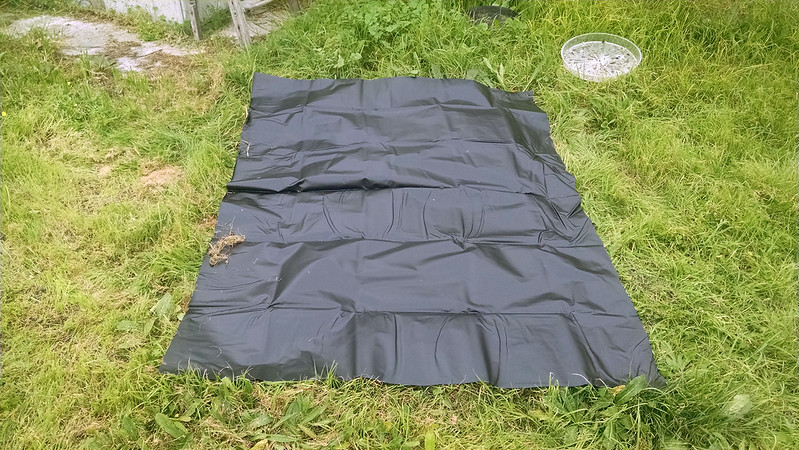
| The full pond liner. |
 |
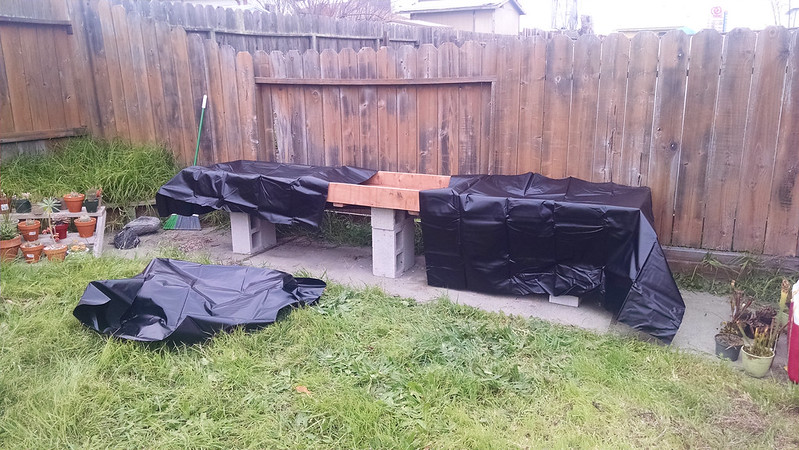
| A quarter of the liner. |
 |
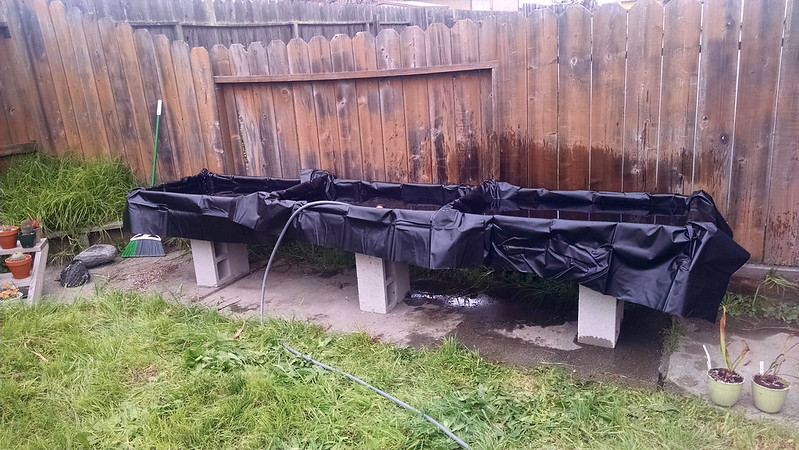
| Fitting the liner into the segments. |
 |
| Adding water to fill the lagoons. |
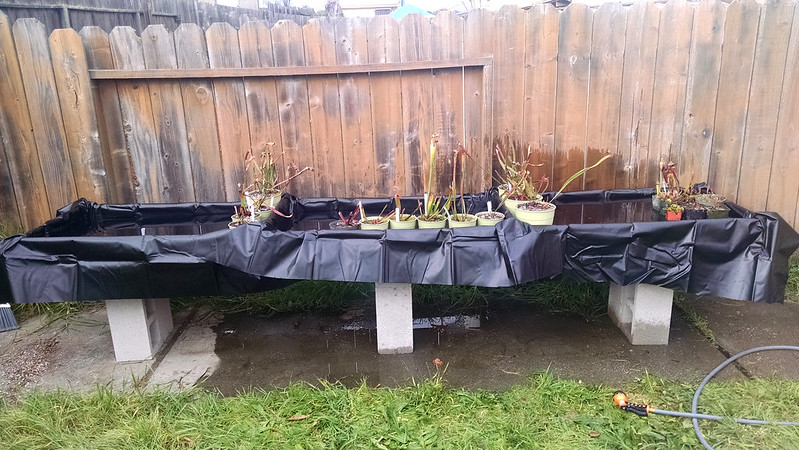 |
| The plants all in place. |
We started with seven 12 foot pressure-treated 2x4 boards, which we used to make the platform. It wound up being 12 feet (~3.6 m) long and about 25 inches (~64 cm) wide. We had some leftover 2x4s from an earlier project that we cut into 4 pieces and screwed onto the boards to join them. The outside walls are made of some leftover plywood that we cut into boards 6 inches wide and then sanded down so there were no sharp edges. If we hadn't had plywood we would have bought some 1x6 boards. We screwed those onto the platform and joined the corners with some braces. The inner walls were leftover hardwood boards.
The platform is just resting on top of the cinder blocks. It's heavy enough to be pretty sturdy, and the only thing I could see knocking it over would be a big earthquake, in which case I'll have bigger problems than dealing with my Sarrs. The liner is a 10x13 foot pond liner by Pond Life. I cut it into quarters so I could use one for each segment. It's not currently secured to the platform, since I just wanted to get this up in advance of the storm we're going to be getting this weekend. Once everything dries up TJ and I are going to cut some strapping and use it to screw the liner onto the sides. I'll post an update when we do.
We got all the materials from Home Depot. Here's the cost breakdown:
$60 – 7 12" 2x4 boards
$15 – 9 cinder blocks
$60 – 10"x13" pond liner
$135 – total
We didn't have to buy boards for the walls, or any of the hardware for the job. In terms of tools, we just used a circular saw, a power drill, and a power sander, although I did most of the sanding by hand while watching the Super Bowl in the garage. Assuming you have a drill and a saw I bet you could do this for under $160.
Look at all that space I have now! I'd been putting off getting more
Sarracenia and
Dionaea and temperate
Drosera because I didn't really have any place to put them. That's certainly not true any longer.
I think I'm going to call this grow space the Lagoon. TJ and I also planning on building a bit of a windbreak to provide shelter to the plants growing in the lagoon. Then we'll be in business!


No comments:
Post a Comment